To the courageous people of Ukraine,
My heart goes out to all of you suffering as a result of Russia’s invasion and I commend those of you who’ve chosen to stay and fight.
Your own President Zelensky said it so well: “We will not put down weapons, we will defend our state. Because our weapon is our truth.” Amen President Zelensky! As an American, and especially as a Texan, I also believe my weapons are my truth.
Given your history and location, your weapons are likely AK-47s or AK-74s. For those of you who were private citizens two weeks ago and never had to clean an AK rifle before, I hope you find this video/article helpful and accept it as my small contribution to your enormous effort.
NOTE: you can clean a gun with a variety of substances – you don’t need special gun cleaner or gun lubricant. Common household items like rubbing alcohol, WD-40, or just plain soap and water will work in a crisis. The oil dipsticks in car engines are instant bore rods for cleaning the inside of the barrel and the oil itself can be used as lubricant. Toothbrushes and t-shirts work great for scrubbing and wiping and you won’t need any tools to disassemble or reassemble the AK-47 (one of its many strengths).
So, Ukraine – stay strong, stay vigilant, keep your guns clean and your powder dry. God speed.
-Grace Boatright
The Avtomat Kalashnikov (AK) was developed in the 1940’s by Mikhail Kalashnikov and first manufactured and offered to Soviet troops in 1947 (thus the “47” part).
Since then, it’s become possibly the most well-known, distinctive firearm ever produced. Your grandmother could probably pick one out of a lineup.
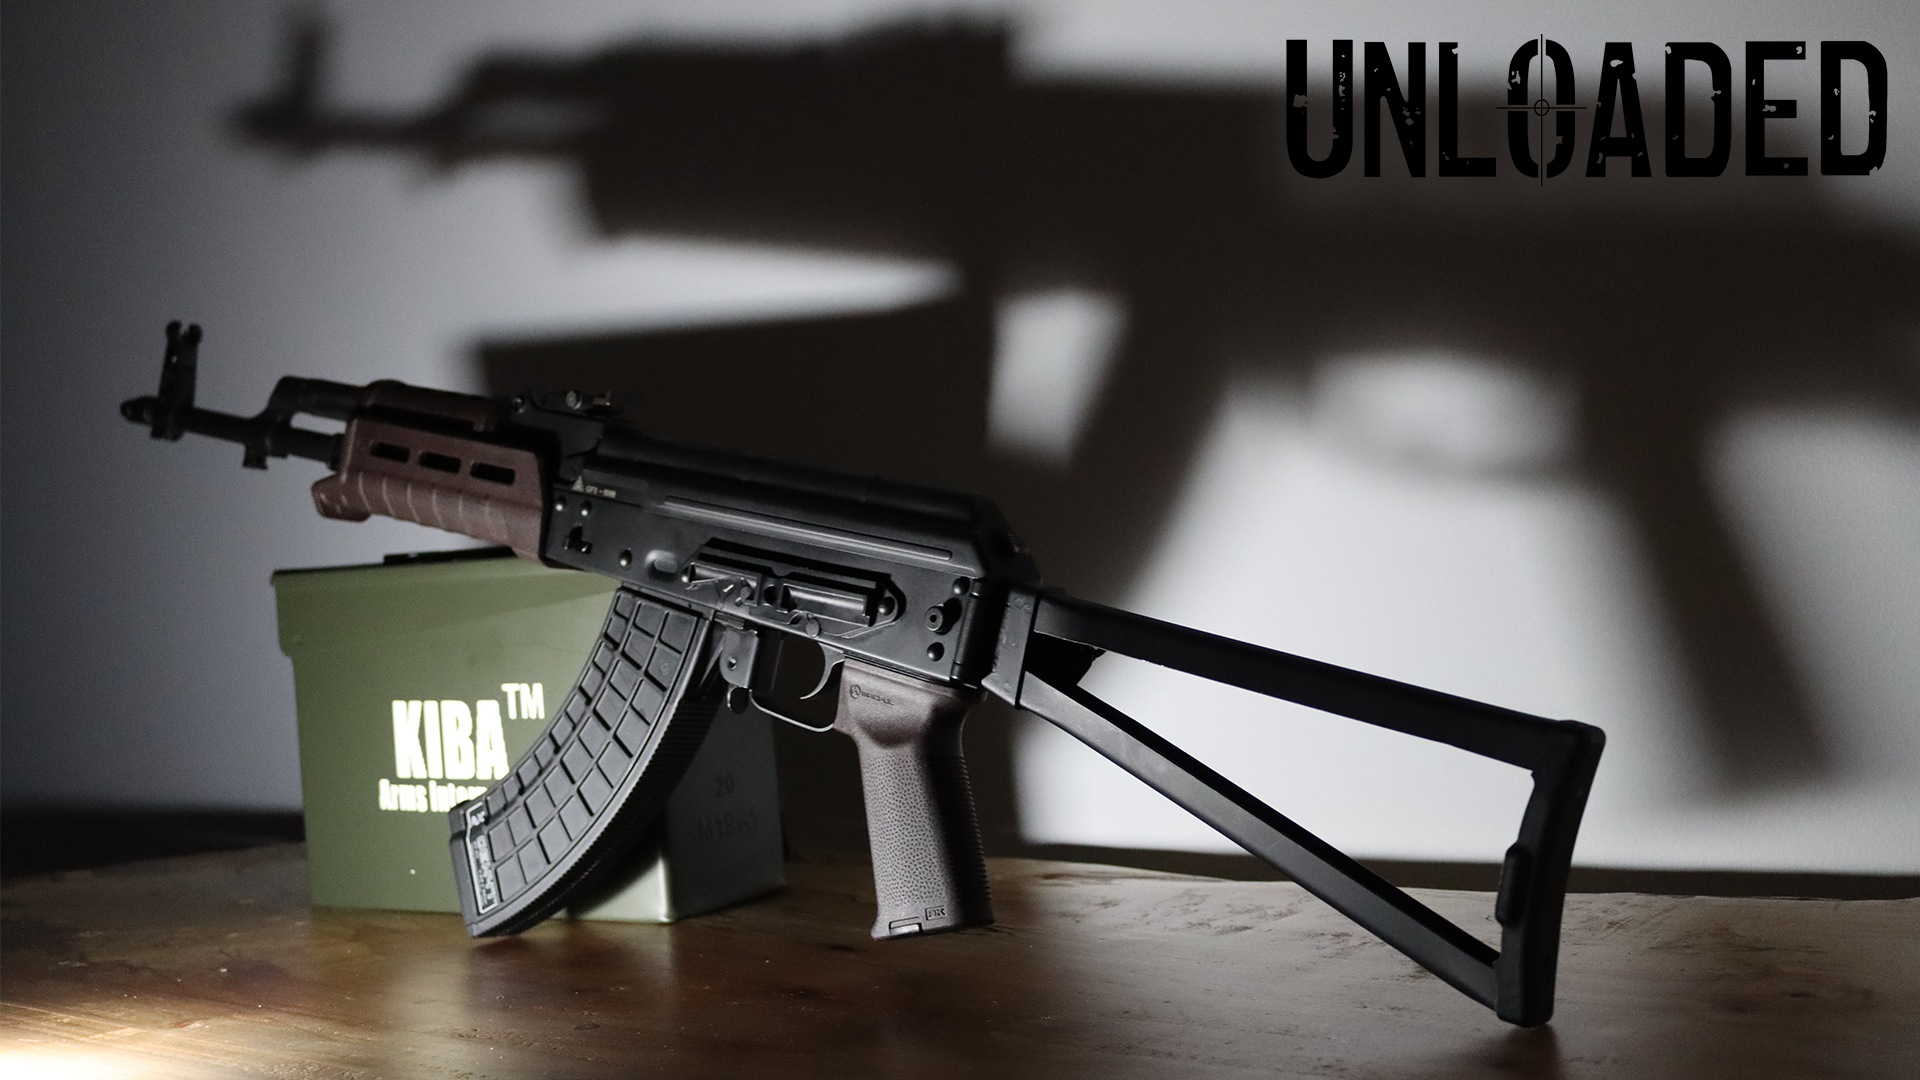
The most distinctive part of the rifle is undoubtedly the curved 30-round magazine that feeds 7.62x39mm rounds into the chamber of this steel-framed, gas-operated beast.
Over the years, the AK-47 has developed a reputation for being one of the most durable rifle designs ever produced. People always say the same thing; “you can drop it in the mud and run it over with a truck and it still works.” While that might be somewhat true, the AK-47 is still a machine and will benefit from regular cleaning, maintenance, and lubrication – especially lubrication.
Everything in Russia is made from steel – including the guns and ammo. Steel might be durable but it’s also overly susceptible to rust and corrosion, making lubrication essential.
Nonetheless, the durability of the AK-47 is such that that it doesn’t require top-notch cleaning skills. Good is more than good enough. Don’t torture yourself trying to get everything spotless. Once all the main components are off the frame, cleaning the barrel and chamber is fairly easy.
Here are some tips and tricks to disassembling, cleaning, and maintaining an AK-47, most of which can also apply to the AK-74. NOTE: this WILL require some yanking, smacking, banging and other aggressive moves.
- Remove the magazine by pushing forward on the little latch behind it.
- Pull back on the charging handle to ensure the chamber is empty.
- Remove the bolt cover by pushing on the little button in the rear and pulling the cover over the button.
- Remove the recoil spring by pulling it towards the muzzle and off the rails of the frame.
- Remove the bolt and bolt carrier by pulling back on the charging handle and sliding the bolt/carrier back along the inside rails of the frame. You might have to yank hard to get it out of the frame.
- Remove the gas tube by flipping the gas tube lock upwards and lifting on the rear of tube. You might have to finagle it somewhat aggressively to clear the gas block.
That’s all the disassembly required to clean the gun. You could remove the muzzle brake by depressing on the round button/latch and unscrewing it but that’s not necessary. It’s also not necessary to disassemble the bolt for every cleaning.
Use a cleaning rod and brush (or a dipstick from a car engine – whatever you’ve got) and run it down the bore, from chamber end to muzzle end if possible. Then use a nylon cleaning brush (or toothbrush- whatever you’ve got) to break up the dried carbon and dirt in the frame and on the parts. Then apply cleaner (or WD-40, water – whatever you’ve got) to a cloth and begin wiping up all the carbon and dirt you just broke up. Do this until things start to look fairly clean.
Now for the lubrication. Use gun lube/oil (or motor oil, olive oil – whatever you’ve got) and run a thin layer over pretty much everything – including the frame. You don’t want to drown it but a thin layer over everything will help avoid rust and corrosion. Give special attention to the rails and anywhere you see metal-on-metal contact.
Now that things are clean and oiled, let’s put it all back together.
- If you removed the muzzle brake, screw it back on.
- Put the gas tube back on. Just like you had to finagle it off, you’ll likely have to finagle it back on. Start by sliding the end (towards the muzzle) over the round part of the gas block. Then line up the gas tube where it should be and maneuver the gas tube lock until the flat part comes towards the front and out of the way of the tube. Try slamming down on it hard to get it back in place (see video).
- Place the bolt back into the carrier. It can really only fit in one way so don’t worry too much about messing it up. You just want the rounded side of the bolt inside the rounded groove of the carrier (see video).
- Make sure the hammer is cocked back before continuing. If it’s not, stick your finger into the frame and push it down until it locks back.
- Now put the bolt/carrier back into the frame. Line up the rear of the bolt carrier with the notches on the back of the frame and push straight down until it clicks back into place. This will require some aggression – more of a “slam” down than a “push” down. Once it’s in place, slide the bolt and carrier forward all the way.
- Slide the recoil spring into the back of the bolt carrier and push it forward until you can slide it back into the little rails on the rear of the frame (see video).
- Put the front of the bolt/dust cover into the thin groove on the rear sight block then pop it down over the recoil spring retainer. By “pop” I mean slam it down with your fist.
- Everything should be back together now. Pull back on the charging handle to distribute the oil before doing a quick function test.
- Click the safety off and squeeze the trigger. If it dry fires, then you’re all done.
- Take a cloth and wipe down the outside of the gun, soaking up any excess oil.
Perform this process every few thousand rounds and your AK rifle should operate well for decades to come. Thanks for reading and watching everybody.
And a special thanks to Vienna Arsenal in Vienna, Virginia for loaning us the PSAK-47 used in our Unloaded video. To shop Vienna Arsenal’s amazing inventory of firearms, or sell or trade your own firearms, please visit www.viennaarsenal.com. You can also follow them on Instagram at @viennaarsenalig.