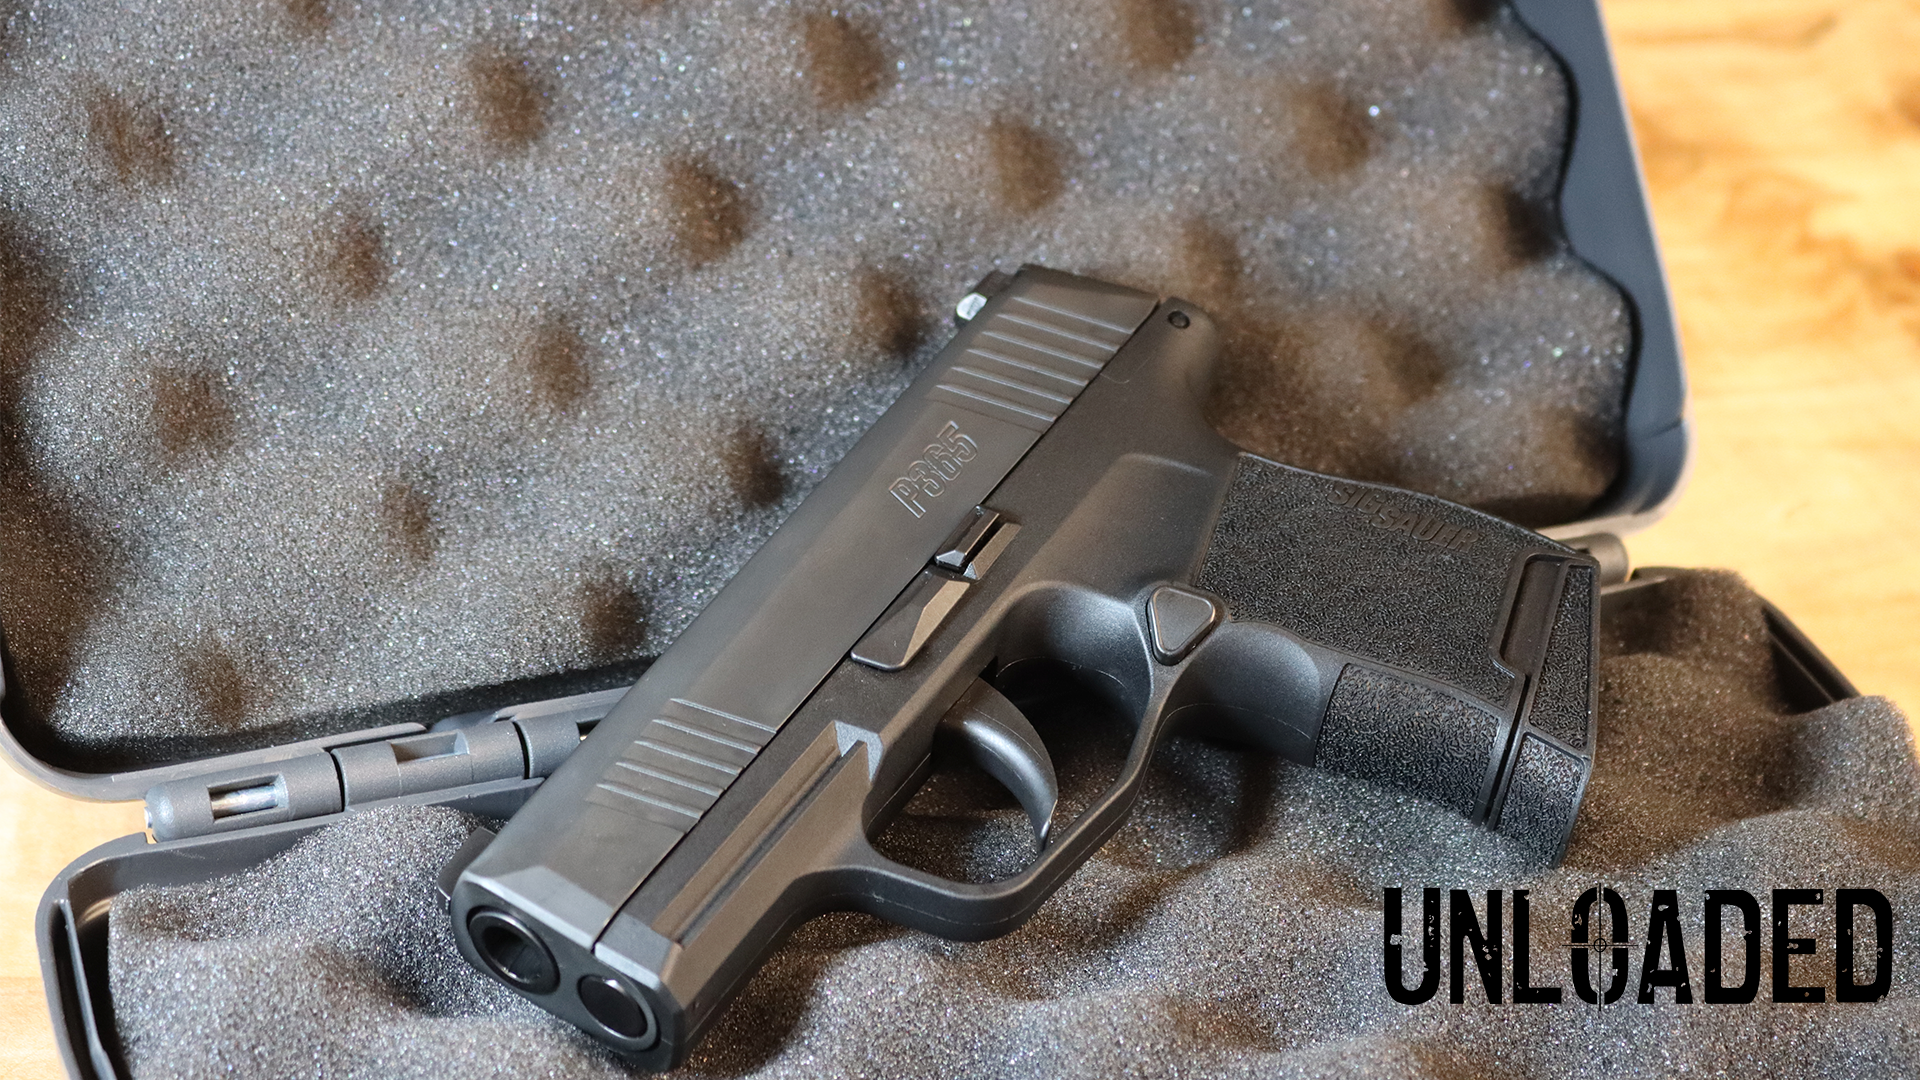
Today, we’re taking a closer look at the P365 from Sig Sauer, on loan to us from our friends at Vienna Arsenal in Vienna, VA (thanks guys!).
Since its debut in 2018, the P365 has become one of the most popular carry guns of all time.
We’re now neck deep in the compact 9mm craze and shooters all over the country have chosen this awesome little Sig as their preferred carry gun due to its small frame, lightweight design, reliable functionality, and high-capacity magazine.
The P365 weighs just 18 ounces, is slightly less than 6 inches long, 4.3 inches high, and only an inch wide. And somehow Sig managed to fit a 10-round magazine into that tiny frame!
I’ve personally chosen to carry the P365XL, adding only an inch to the overall length and 3 ounces in weight – a small price to pay for increased accuracy and 2 additional rounds in the mag.
I’m also a big fan of the straight trigger on the X-series 365 models, though find it hard to explain why. I think the pull is just a little more straight forward – no pun intended. You’re able to find the resistance level easier/faster and then it’s such a short, simple squeeze from there.
I really can’t recommend this little pistol enough if you’re looking for an awesome carry gun that’s still fun to shoot at the range and won’t break the bank.
AND it’s so easy to disassemble, clean, and reassemble. Just follow these steps.
- First ensure a safe and secure environment with no ammo present. We’re also going to double check that the chamber is empty before we proceed.
- To begin field stripping the P365, remove the magazine and lock the slide back. Take this opportunity to triple check that the chamber is empty.
- Turn the takedown lever to the 6:30 position.
- Release the slide by pushing down on catch lever and pulling the slide off the frame.
- Remove the recoil spring/rod and the barrel from the inside of the slide.
- Now we’re completely disassembled, having things broken down into just the five main components – frame, slide, barrel, recoil spring and magazine.
- Coat everything with some gun cleaner and let it soak in a bit to help loosen all that burnt powder and dirt.
- There’s a little hole in the breach face leading to the striker channel and you should avoid getting too much cleaner in there, as it could clog up and lead to lighter primer strikes. Holding the slide with the muzzle end pointed down helps ensure this doesn’t happen.
- Use a nylon brush to scrub everything. It helps clean hard-to-reach spaces, and the nylon bristles won’t scratch the surface of the firearm. Remember: we want to keep our guns both clean AND pretty.
- Give some special attention to the rails on both the slide and frame. Pretty much anywhere where you see metal on metal wear and tear.
- Be sure to clean the extractor as well – the little part near the breach face that throws the spent casings out of the chamber.
- Now for the barrel. Get a 9mm sized brush and send it through the bore from chamber end to muzzle end. I know it’s a pain to take off the brush and put it back on several times but pulling it back through the bore will just bring all that dirt and burnt powder back into the bore which would be counterproductive.
- Now use a cloth holder on the end of the cleaning rod to put cleaning patches through the bore. Once the patches come out clean then you’re good to go.
- If you don’t plan to use the firearm for a prolonged period, then lightly lubricate the bore and chamber to avoid corrosion.
- Now wipe off the recoil spring and rod. Don’t try to dissemble them though. It’s meant to be one single unit and taking it apart could become problematic.
- Wipe excess cleaner from all the parts now and add a little bit of lubricant to the rails.
- Make sure the recoil spring is seated in the barrel lug correctly. This is important because it is possible to reassemble the firearm with it seated improperly and then the gun won’t go off when you need it to. When you look at it from the exterior of the muzzle end, the recoil spring should be perfectly flush with the end of the slide.
- The takedown lever will change positions when you take the slide off so you’ll need to push the slide lever up in order to put the takedown lever back to the 6:30 position.
- Do a quick function check by inserting the magazine, pulling the slide back and then squeezing the trigger. If you hear a little click then you’re all set.
And we’re done! Doesn’t get much easier than that.
Thanks for watching everybody. For more videos and articles visit us again at www.FullMagNews.com and be sure to check out Vienna Arsenal at www.viennaarsenal.com/.