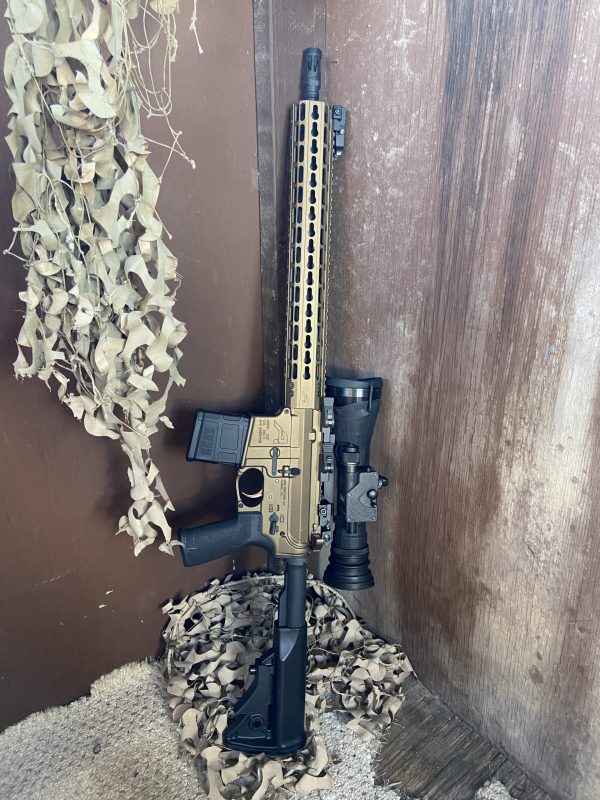
I’m currently sitting in a deer blind in McAllen, Texas where I’m taking clients hog hunting for the weekend. Two days ago, I was back in Virginia teaching a Basics of Rifle Shooting class to a group of 12-year-olds.
For both occasions, I use an AR-15.
Call me a millennial but I love the AR-15. It’s accurate, dependable, lightweight, takes a 30-round magazine, and won’t cripple my shoulder after shooting it all day.
It’s great for a fun day of plinking on the range with friends, hog or deer hunting, competition shooting, combat, and of course, the zombie apocalypse – or any apocalypse for that matter.
ARs are also so easily customized and tailored to one’s unique taste and preferences. It’s like a charm bracelet for gun people. You can collect all the fun accessories you want and develop it into something all your own. It’s a beautiful thing.
And I haven’t even gotten to the best part: when it comes to disassembly, cleaning, and reassembly, it doesn’t get easier than the AR-15.
In fact, when Armalite began designing the AR-15 in the 1950’s, part of the goal was to design a dependable, lightweight rifle that could be cleaned anywhere and in a hurry. And that’s exactly what they got in the now world-renowned AR-15 rifle.
Whether your AR is made by S&W, Wilson Combat, Rock River Arms, Ruger, Sig, Springfield, or any other manufacturer, they all break down in a very similar manner.
Here are some simple, step-by-step instructions for disassembling and cleaning your AR rifle.
- Of course, first ensure an empty chamber
- Pull back on charging handle and lock back with bolt hold open lever
- Field strip rifle first using pin tool. Pull both front and back takedown pins
- Remove buffer and buffer spring
- Disassemble bolt carrier assembly: firing pin retainer, firing pin itself, bolt cam pin, remove bolt, remove extractor pin, then the extractor itself.
- Soak bolt carrier assembly parts in cleaning solvent
- Set up rifle vise for easier cleaning
- Put the buffer and buffer spring back into place
- Clean chamber and locking lugs with brush
- Run a cleaning rod down the bore with a .22 caliber brush
- Lube bore mop and run down the bore
- Clean/wipe up bolt carrier parts
- Clean inside of gas key
- Reassemble bolt carrier group – lightly oil/lube everything
- Stagger gas ring gaps 60 degrees
- Ensure the extractor is at 11 o’clock position
- Be sure to lube the hammer and sear pivot springs, safety lever, bolt catch, rear and front pivot pins
- Actuate the action to distribute oil
And that’s it! I know it seems like a lot of steps but it’s really very simple, especially after you’ve done it a few times.
Enjoy!


